How to uninstall Epson drivers and software
Applies To
Operating Systems: Windows 10, Windows 11, macOS
Description
This article explains how to remove or uninstall Epson printer drivers and software in Windows 10, Windows 11 and macOS
Instructions
Select your operating system below to view step-by-step instruction.
-
Click
 Start button.
- Search for Settings and select it.
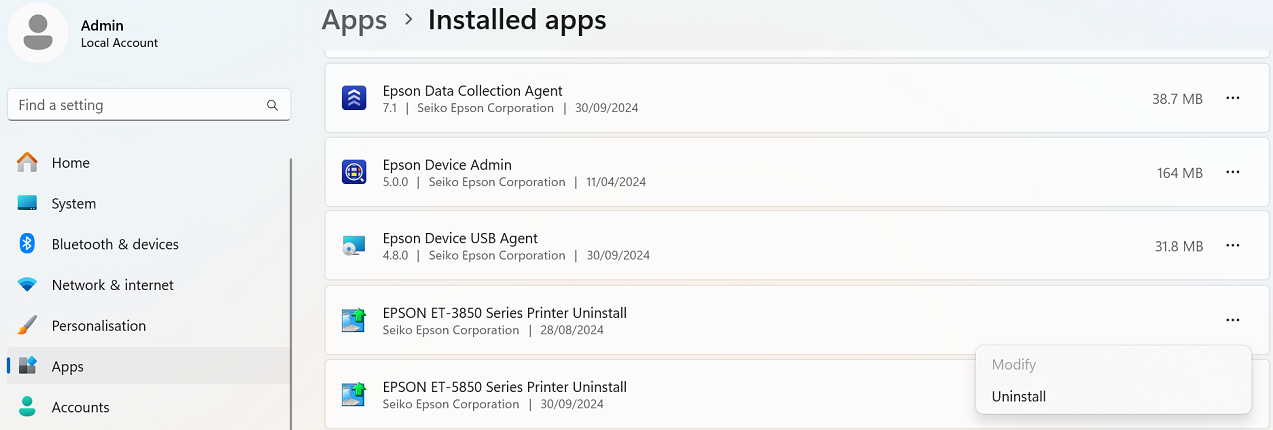
- Select Apps > Installed apps.
- Locate the Printer Uninstall item listed for your product (e.g. EPSON ET-3850 Series Printer Uninstall), click the 3 dots to show more options and click Uninstall.
-
Then select the program you want to uninstall and select Uninstall.
 Note:
Note:Click Yes if you receive a Windows permission request to "Uninstall or change an application". -
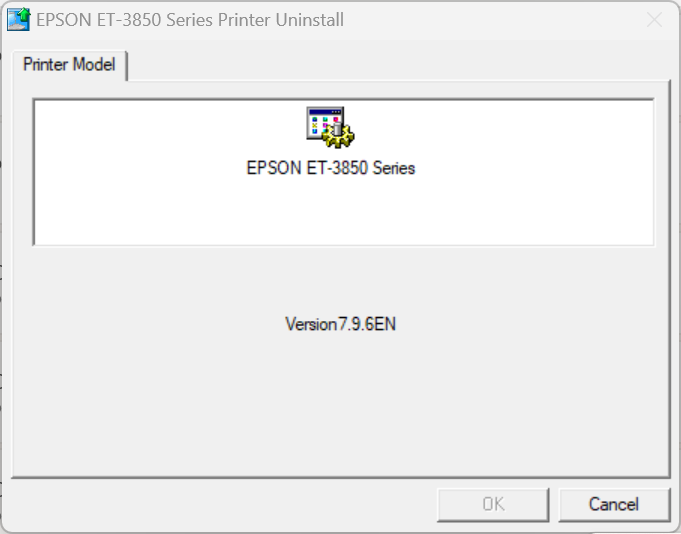
Click on your printer and click OK to uninstall.
-
Click Yes when prompted to confirm that you want to delete the selected printer.

-
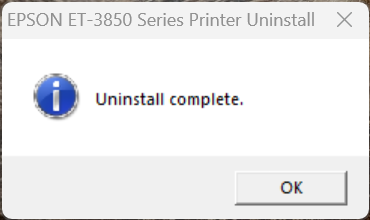
You will then see confirmation that the uninstall is complete. Click OK.
- Make sure that your printer is still powered off and disconnected from the computer and restart the computer.
-
Once the computer has restarted, the uninstall process is complete.
Note:
If your Epson printer model(s) is listed more than once, repeat this procedure for any duplicate drivers. Repeat the procedure for any other Epson software you wish to uninstall. - If you need to reinstall the printer driver, download the latest drivers from the Epson Support website.
- For more information see Epson and Windows.
- Start with the printer powered on and connected to the computer.
- Open the Devices and Printers folder. Check for and cancel any queued documents for all installed Epson printers. For help with this step see How to cancel print jobs in Windows.
- Power off the printer and disconnect the data cable.
-
Click in the Search bar in the bottom left of the screen.

-
Type Programs and Features in the Search bar and press Enter.

-
Select the Printer Uninstall item listed for your model, e.g. EPSON XP-820 Series Printer Uninstall and click Uninstall/Change.
 Note:
Note:If you have more than one icon for your Epson printer model(s), repeat this procedure for any duplicate drivers. -
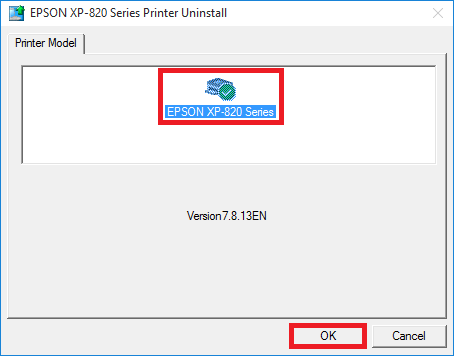
Click on your printer and click OK to uninstall.
 Note:
Note:
Click Continue if you receive a Windows permission request to "Uninstall or change an application". -
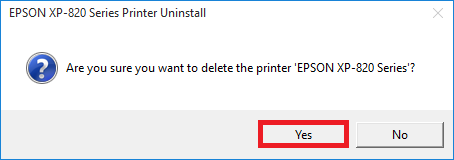
Click Yes when prompted to confirm that you want to delete the selected printer:
-
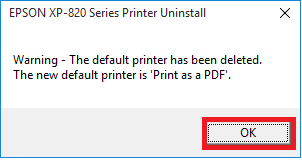
You will then see confirmation that the printer has been deleted and another printer has been set up as a default.
-
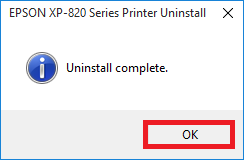
You will then see confirmation that the uninstall is complete. Click OK.
- Make sure that your printer is still powered off and disconnected from the computer and restart the computer.
-
Once the computer has restarted, the uninstall process is complete.
- If you need to reinstall the printer driver, do so using the latest and recommended drivers from the Epson Support website.
- For more information see Epson and Windows.
|
To remove Epson software from your computer, you’ll need to be signed in with a Computer Administrator account. The process cannot be completed from a Limited user account. |
- Close all open applications.
- Click here to Download and install the Uninstall Center.
-
Once opened, the tool will display all Epson software currently installed on your computer.
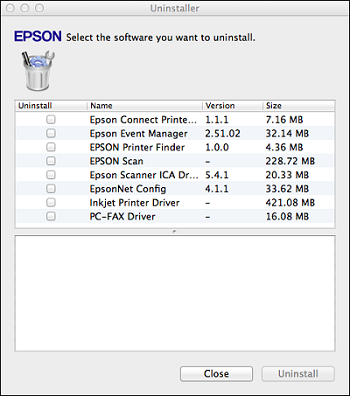
-
Select the items you want to remove (for example, the printer driver), then choose Uninstall.
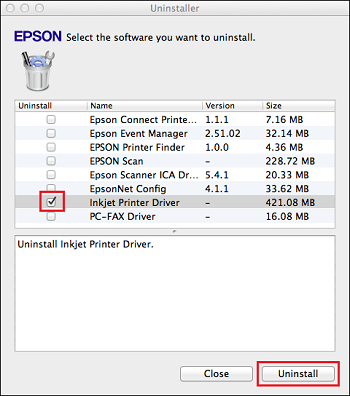
- Follow the on‑screen instructions to complete the process.
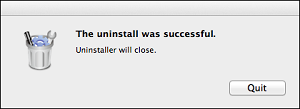
-
When everything has finished uninstalling, click Quit to close the tool.